You can customize your Detection Rules by creating custom detectors in the Nightfall dashboard.
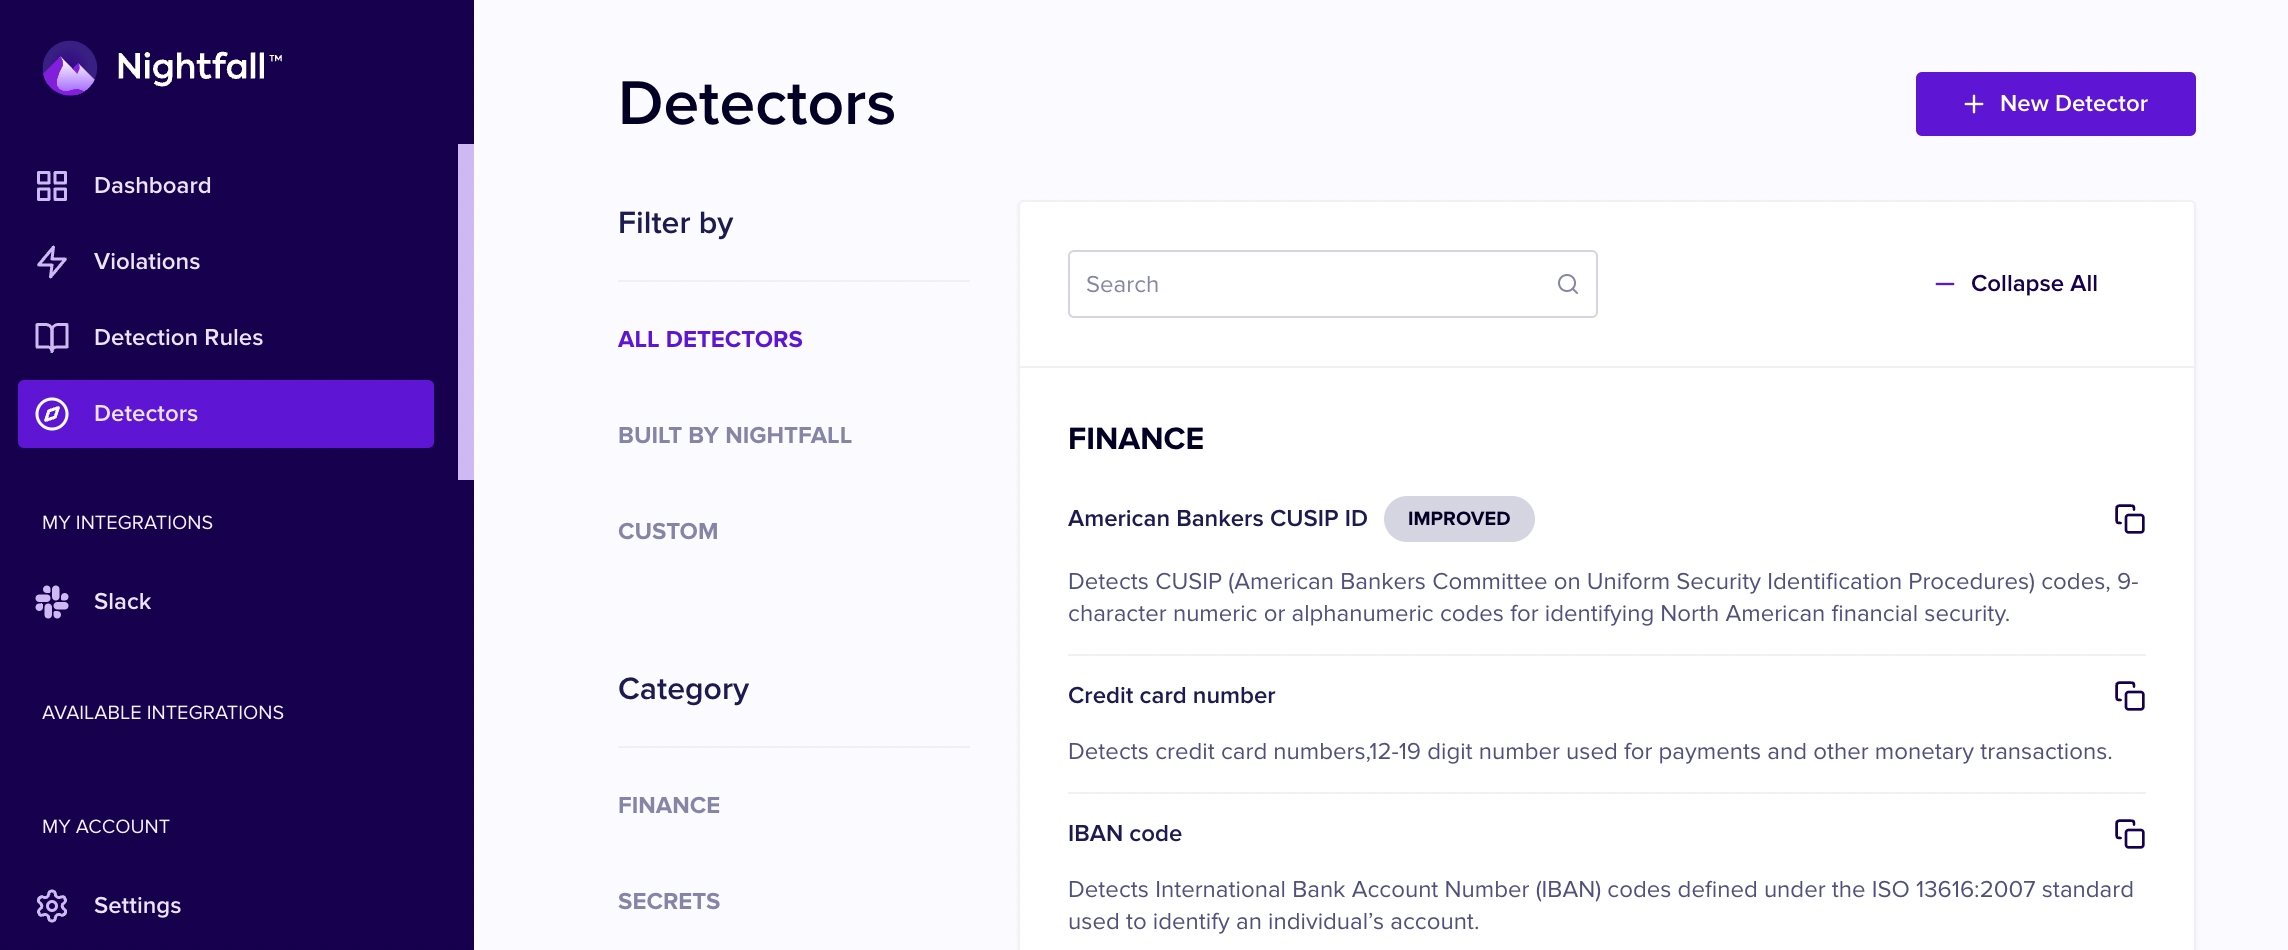
To create a Detector, select "Detectors" from the left-hand navigation and click the + New Detector button
Custom detectors can add context and exclusion rules on top of pre-built Nightfall detectors, or can be built off your own custom regular expressions.
Be aware that you may not have two detectors based on the same Nightfall data type within the same detection rule.
A full glossary of Nightfall's prebuilt detectors can be found in the Detector Glossary
Updated 2 months ago
The API expects an API Key to be passed via the Authorization: Bearer <key> HTTP header.
To create and manage API keys:
Log in to Nightfall.
Click Overview under the Firewall for AI section.
Click Create key.
The Generate API Key window is displayed.
Enter a name for the API key and click Create.
The API key is generated and displayed (blurred in the following image). Click the copy button to copy the API key and store it in a. secure location. Once you click the Got it button, you cannot retrieve the API key again.
🚧Be Sure to Record the API Key's ValueFor security reasons, after closing the window, you will not be able to recover the key's value.
Once you close the window, the My API Keys page will display your newly generated key, with the majority of the Key redacted.
You can return to the Overview page at any time to create new keys (assuming your license allows you to generate additional keys) or delete old keys.
Before you use the scan endpoint, there are a number of actions to do within the Nightfall dashboard to get your environment set up properly.
See Creating an API Key to see how to create the necessary Authentication token for making API calls.
See Creating a Detector for how to define your own custom logic for detecting sensitive data
See Creating Detection Rules for how to aggregate Detectors for use in the scan endpoint
See Creating Policies for how to set up common workflows that combine your Detection Rules with remediation actions such as alerting.
You can define Detection Rules “inline” in the body of each request to the scan endpoint. See the example in the walk through of the scan endpoint Creating an Inline Detection Rule.
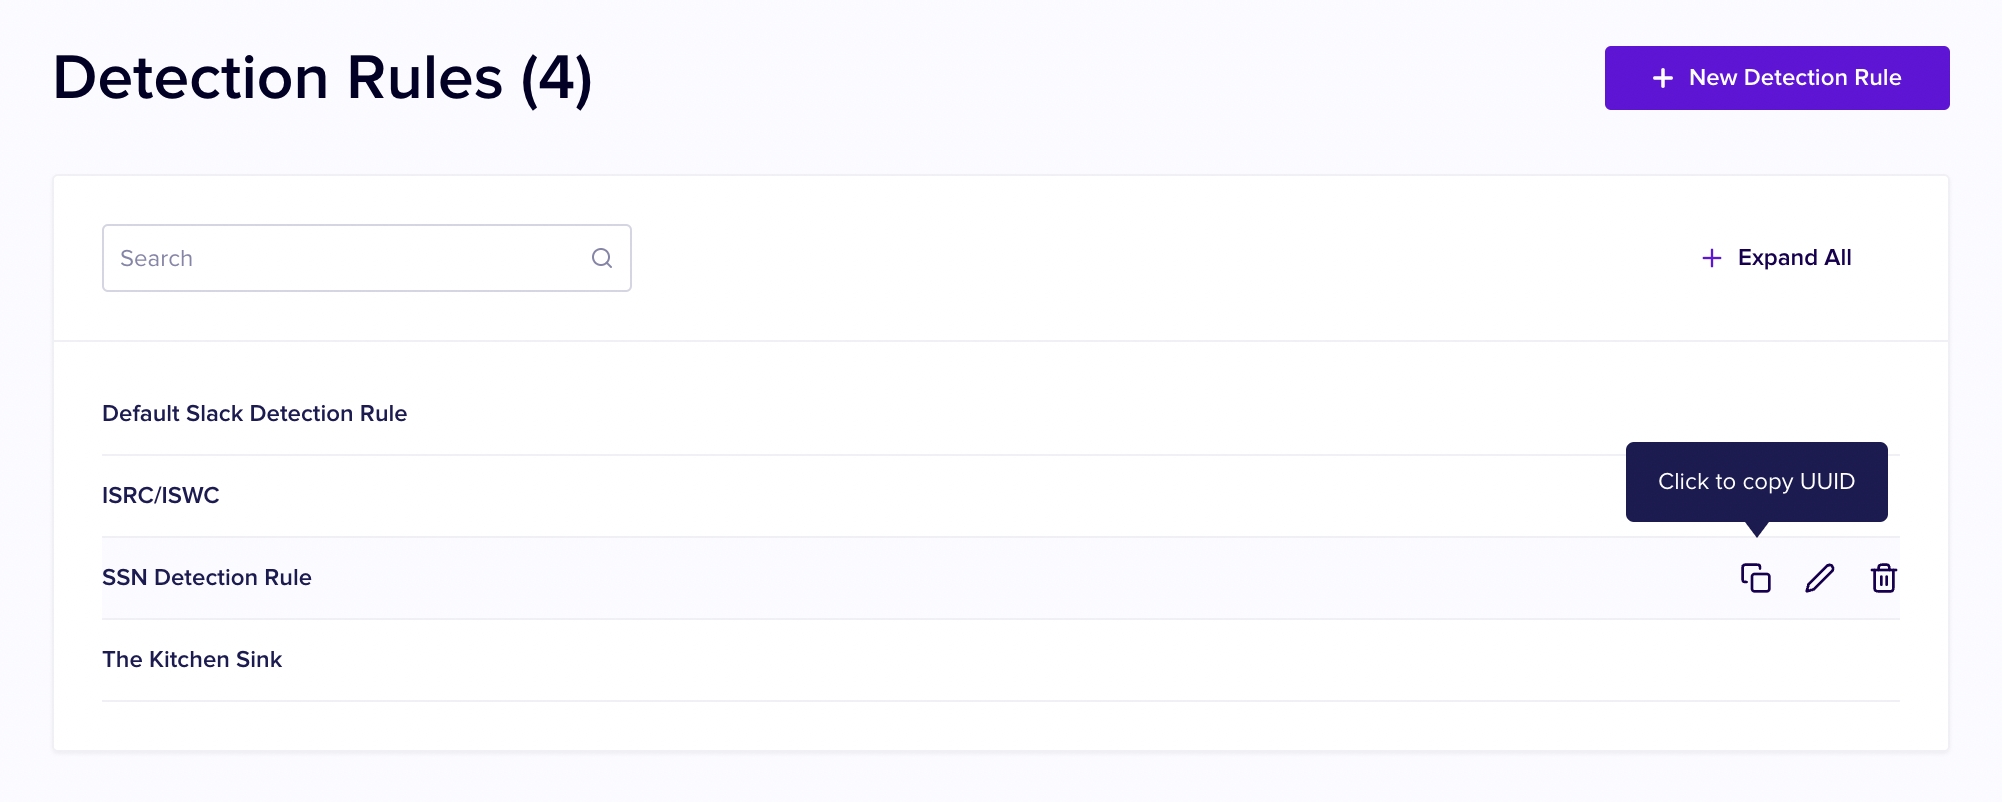
You can also use the Nightfall UI > Detection Rules to predefine your Detection Rules. Once you have created a Detection Rule, you will receive a UUID, which you can pass in as part of your API request payloads.
You may add up to 50 detectors to your detection rule.
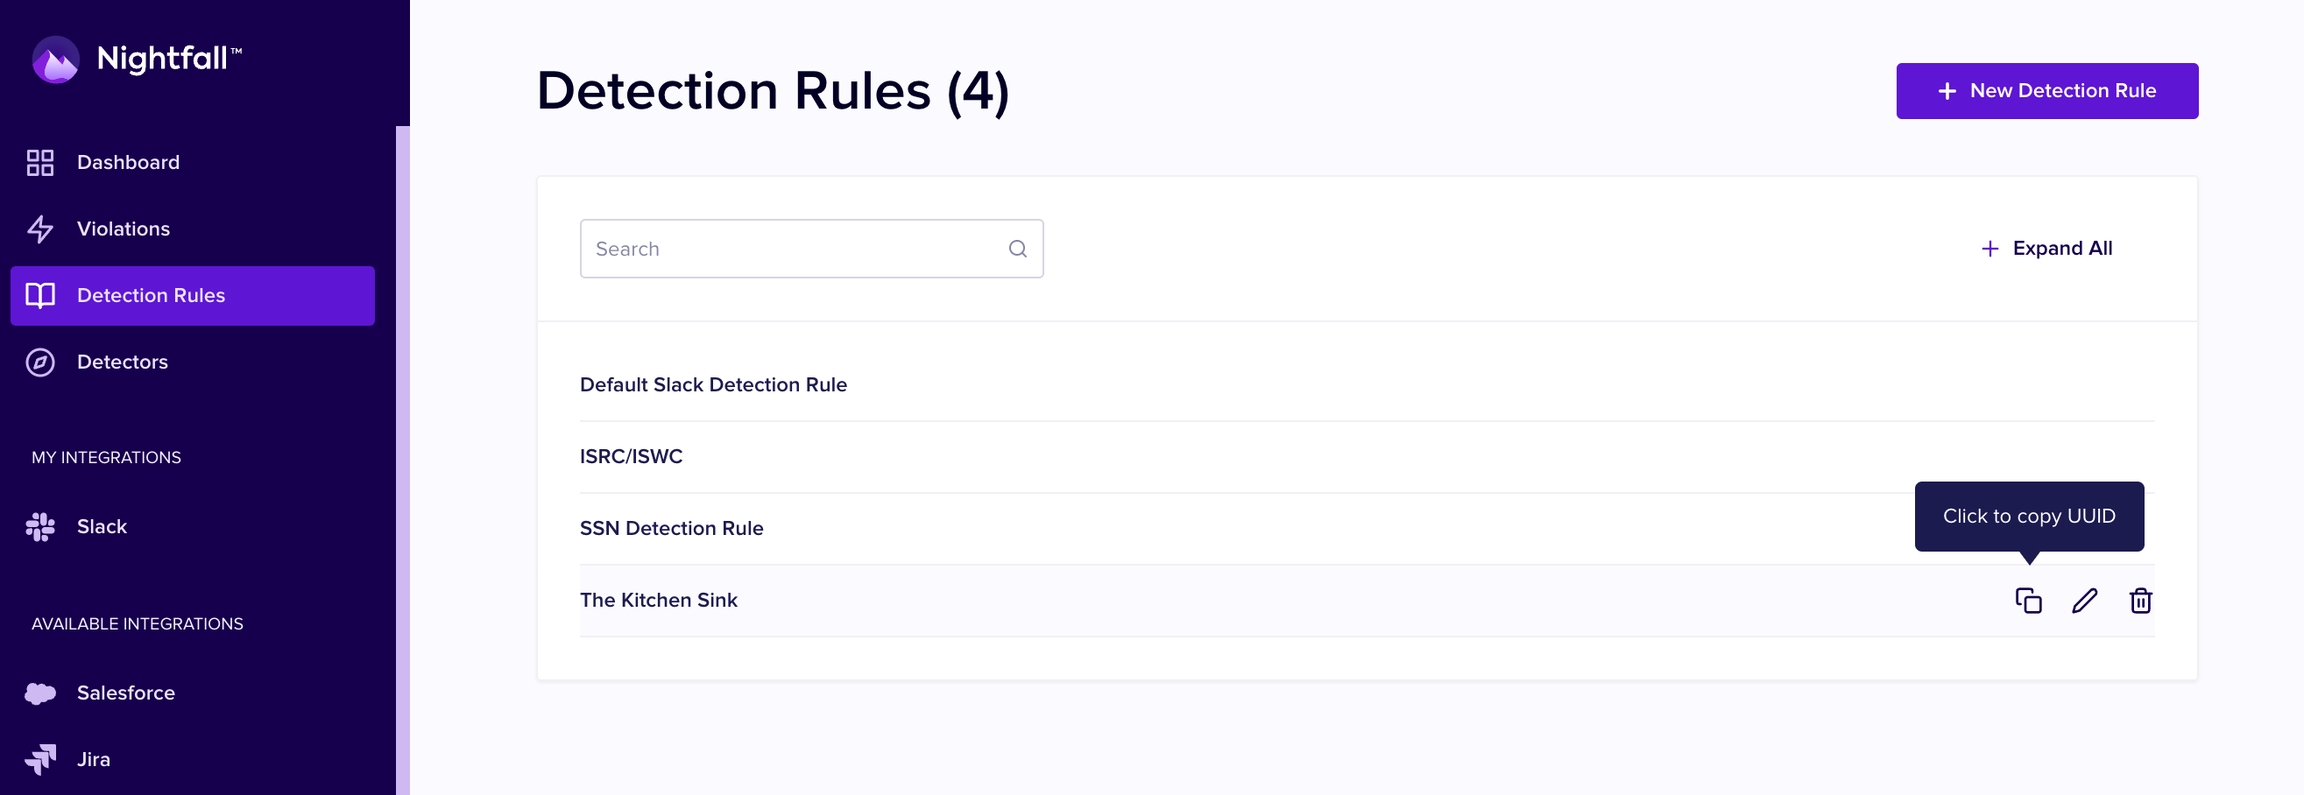
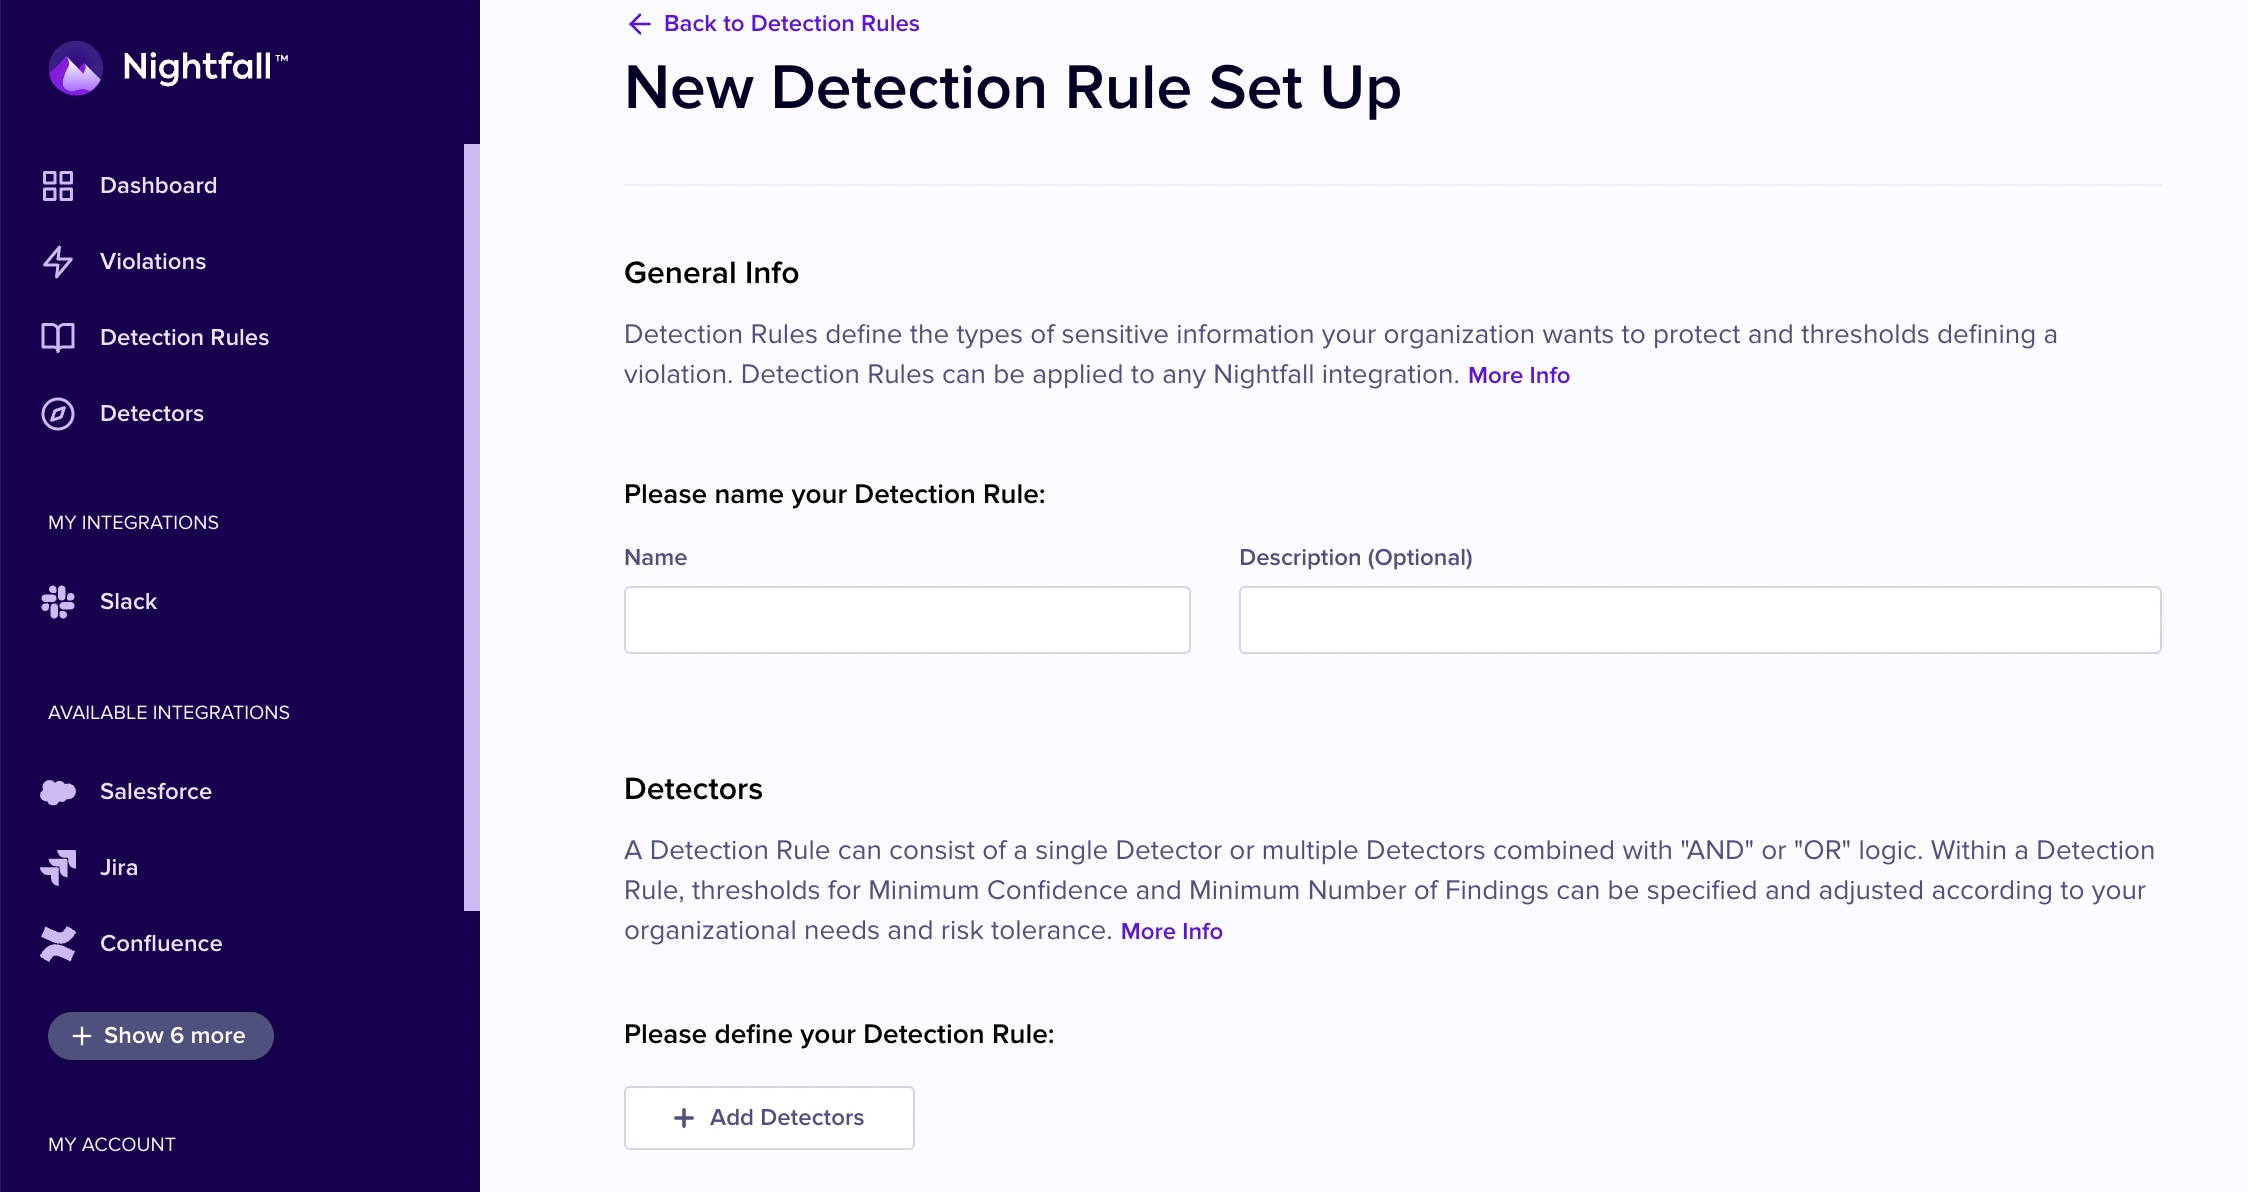
To create a Detection Rule in the Nightfall UI, Select "Detection Rules" from the left hand navigation.
Click the + New Detection Rule button in the upper right hand corner.
First, enter a name for your Detection Rule as well as an optional description.
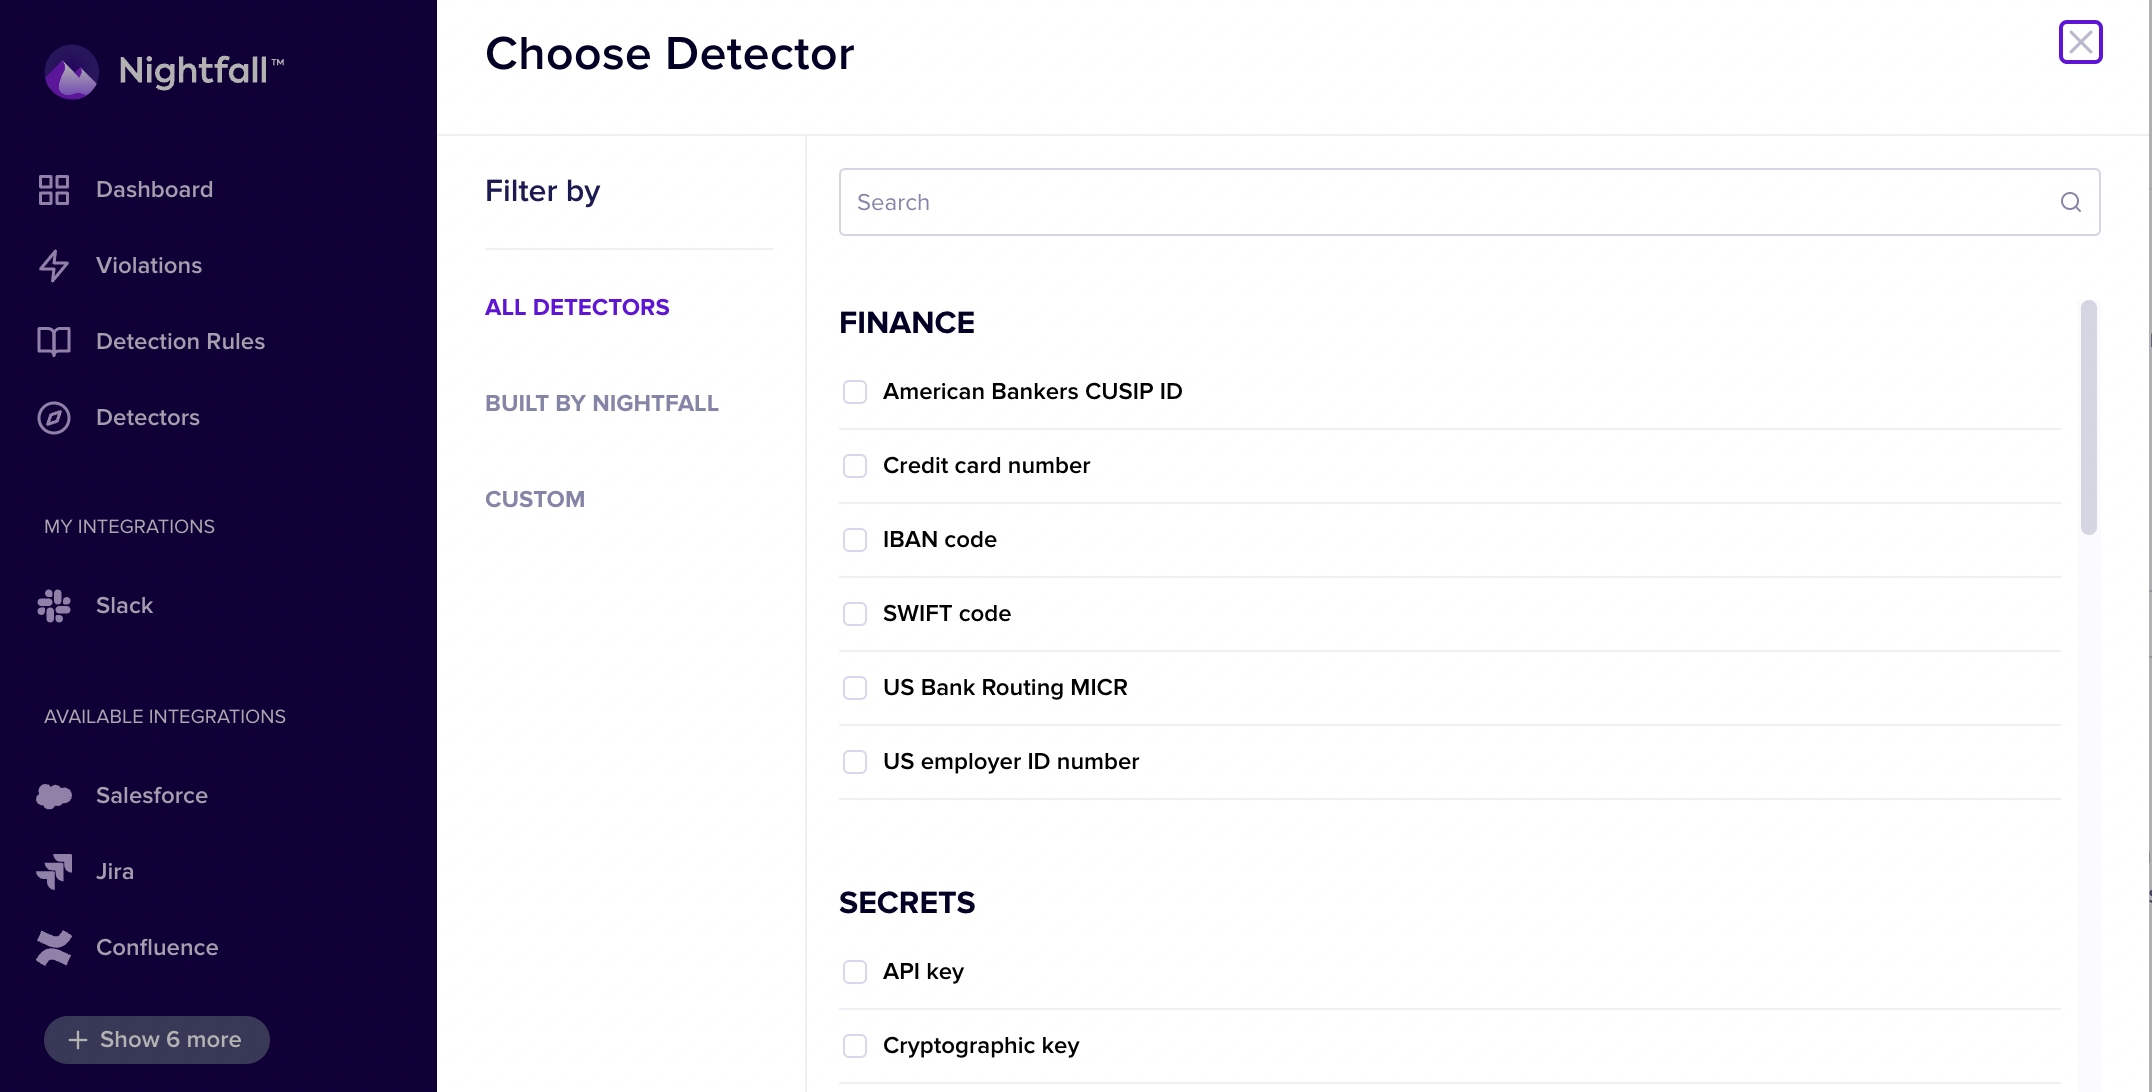
Then click the + Detectors button to add Detectors to your Detection Rule.
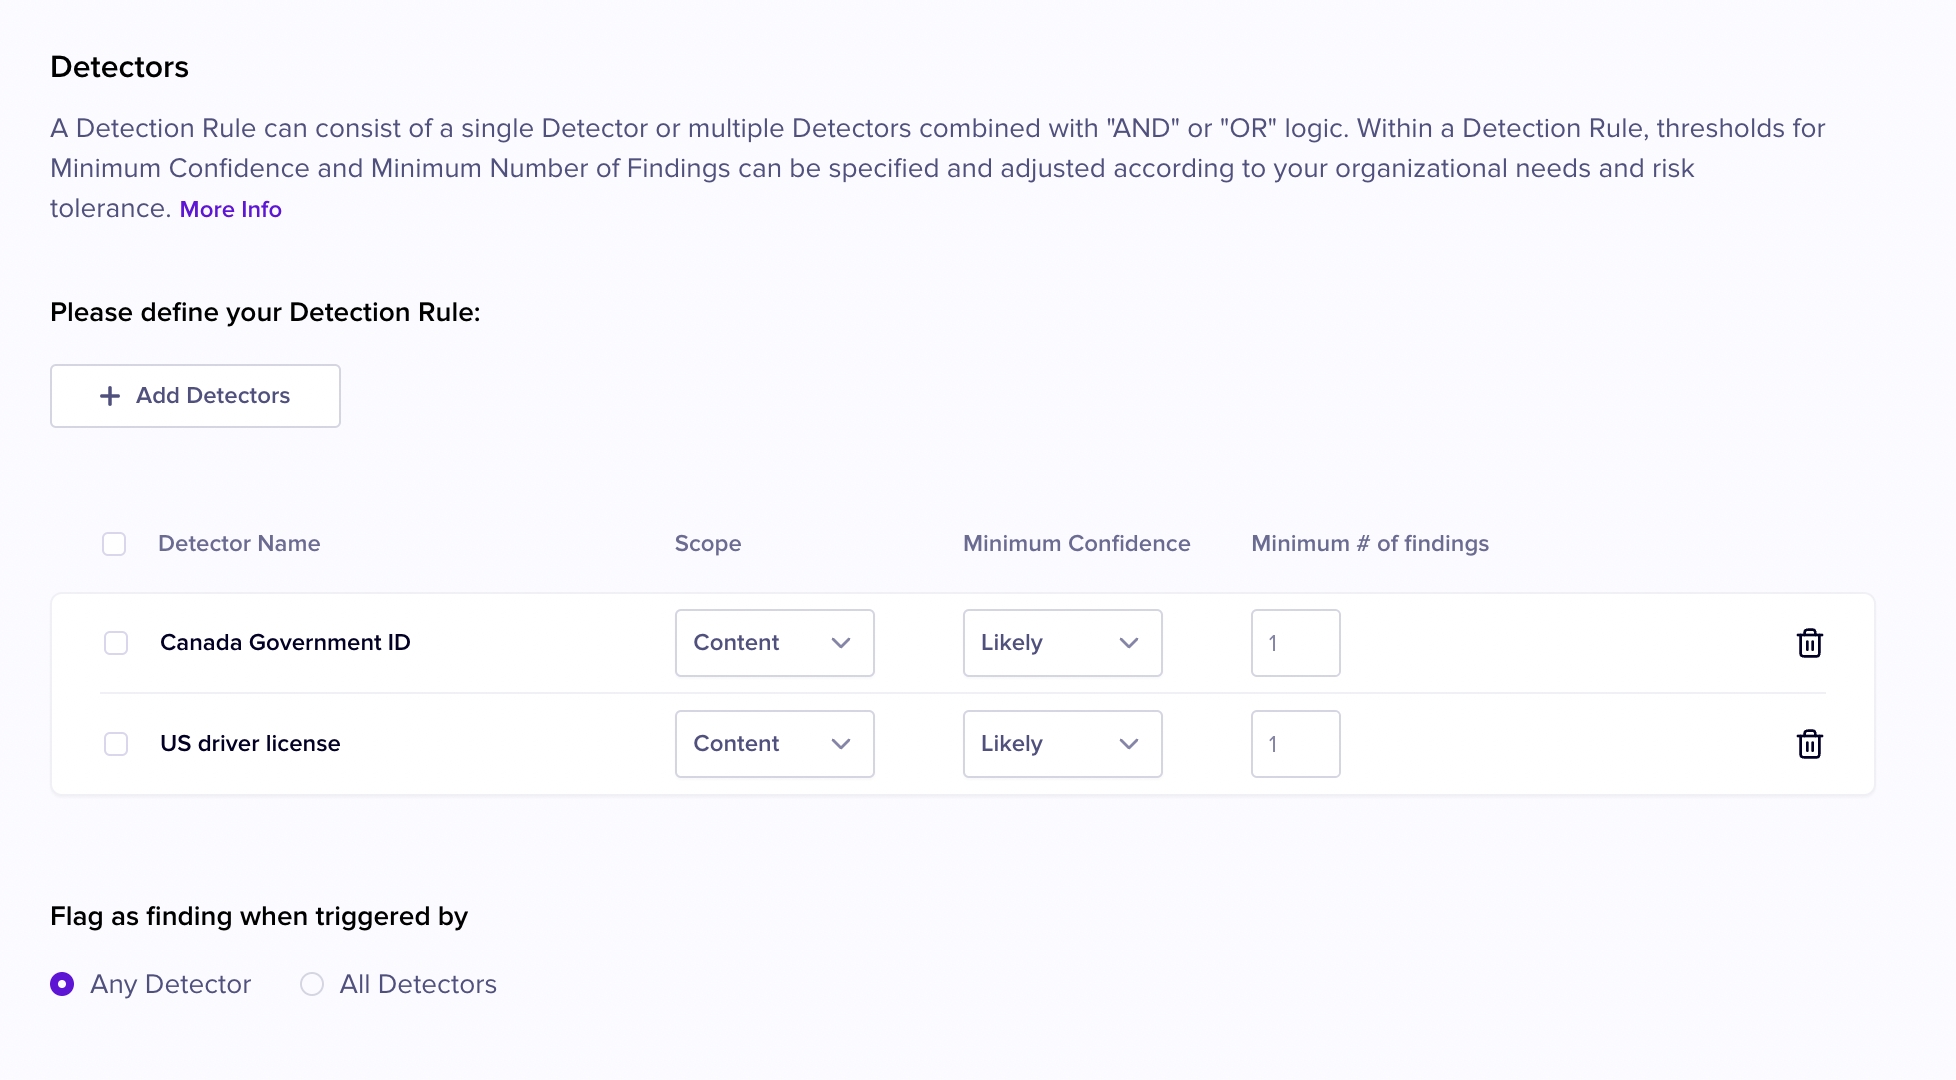
In this example we have selected the US drivers license and Canada Government ID detectors.
Click the Add button in the lower right hand corner at the end of the detector list when you are done adding detectors.
Now that your Detectors are set, choose a minimum confidence level and a minimum # of findings for each detector.
If these minimums for a Detector are not met, the Detection Rule will not be triggered.
Save your Detection Rule in the lower left hand corner once you are done.
Once the Detection Rule is saved, it is available for use in requests to the Nightfall API to scan your data for sensitive information. Pass in the UUID of the Detection Rule as the detectionRuleUUIDs field of your requests to the the scan endpoints.
The UUID may be obtained by clicking the "copy" icon, the left most icon in the set of icons that appear next to the Detection Rules name when your cursor highlights a Detection Rule in the list of Detection Rules.
See Using Pre-Configured Detection Rules for an example of using a Detection Rule UUID.
This document applies only to the Nightfall Firewall for AI customers. If you are a Nightfall SaaS application customer, refer to this document.
Policies allow customers to create templates for their most common workflows by unifying a set of Detection Rules with the actions to be taken when those rules are triggered, including:
automated actions such as redaction of findings
alerting through webhooks
Once defined, a Policy may be used in requests to the Nightfall API, such as calls to scan file uploads, though automated redactions are not available for uploaded files at this time.
To create a policy:
Log in to Nightfall.
Click Overview under the Firewall for AI section.
Click Create Policy.
The policy creation page is displayed as follows.
If you click the Policies button under the Setting Up section, you need to execute a couple of additional steps to reach the policy creation page, as displayed in the following image.
Enter a name for the policy.
(Optional) Enter a Description for the policy.
Click + Detection rule to add a Detector rule to the policy.
Select the check box of the Detector rules that you wish you add to the Policy.
Select the Redact Violations check box to mask sensitive information found in your transmitted data.
Select one of the alerting method available.
Click Save Policy.
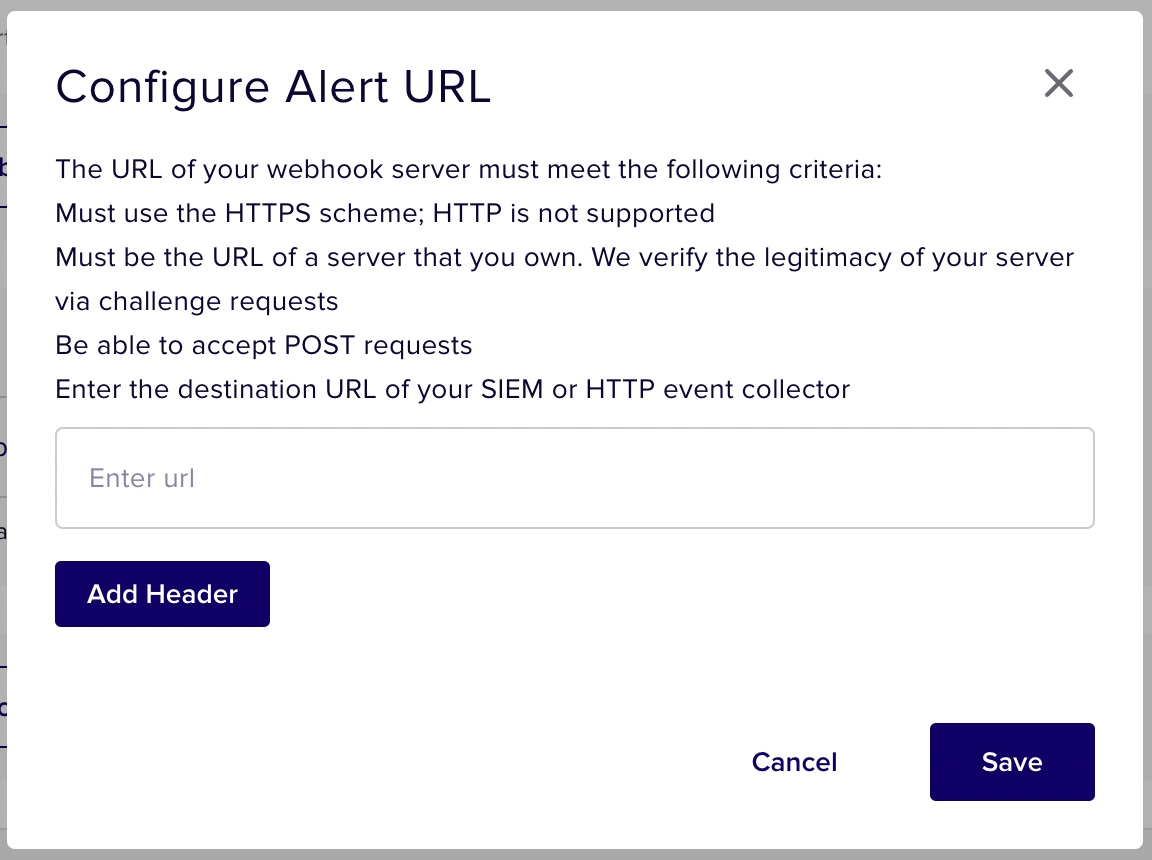
When you click + Application Webhook, the following window is displayed.
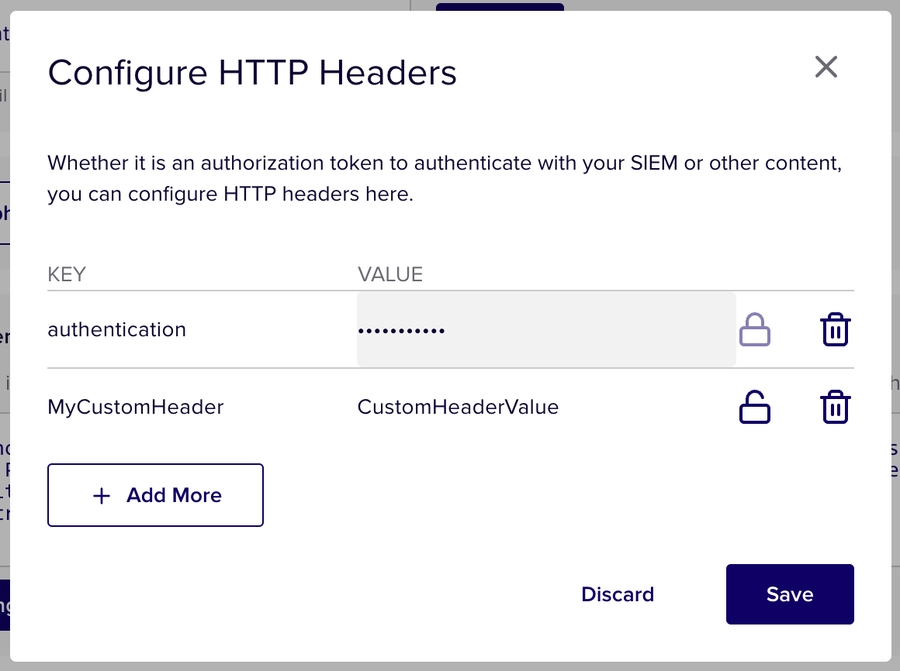
If you have custom headers you would like to add to requests sent to the Webhook URL, you can do this from the overlay that appears when you click the "+ Webhook" button on the policy creation and edit page. These headers may be used for the purpose of authentication as well as integrating with Security Incidents and Event Management (SIEMs) or similar tools that aggregate content through HTTP event collection.
Click the "Add Header" button to add your custom headers.
Once your header key and value is entered you may obfuscate it by clicking on the "lock" icon next to the value field for the header. Click the "Save" button to persist your changes to the headers.
When you have completed configuring your Webhook URL and Headers, click the "Save" button.
🚧Limits On Webhook HeadersIt is currently not possible to configure headers for webhooks programmatically when defining policies through the API.
After you click the "Save Policy" button, your policy should be immediately available for use. You can refer to the API Docs for the comprehensive list of endpoints that support policy UUIDs.

